This article may contain compensated links, please read our disclaimer for more information.
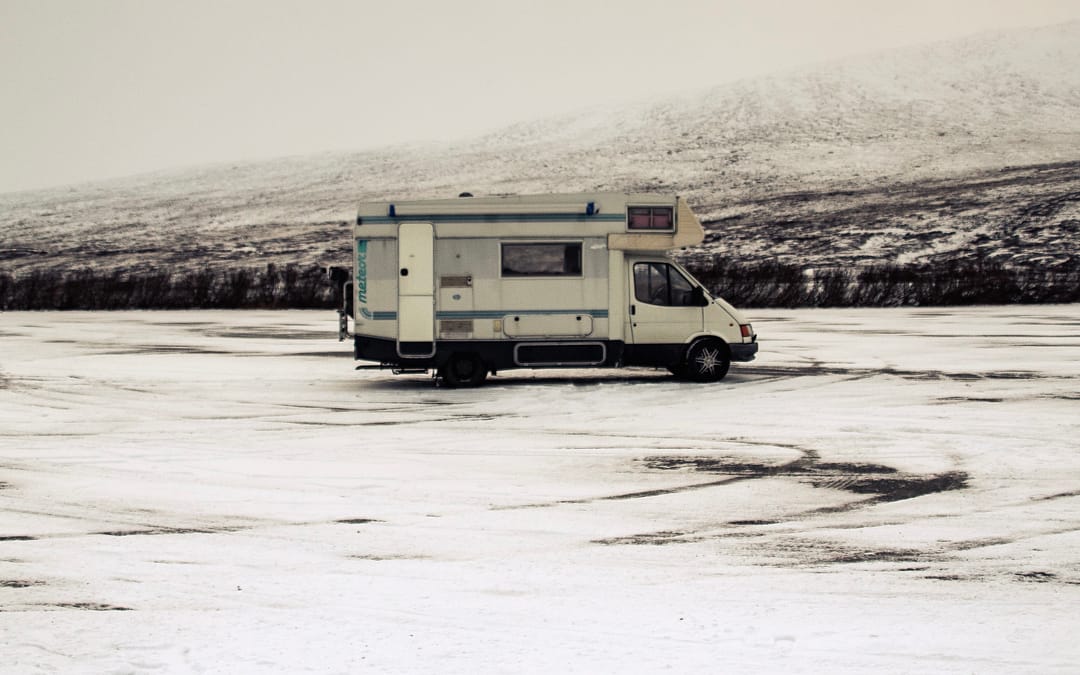
Winter is in full swing. If your RV is in storage for the season, hopefully it has already been winterized. That said, those who RV full time don’t typically have to think about RV winterization until they want to leave their rig for a bit during the cold months. At this point, the full timers have to remember all the steps of RV winterization (something they don’t usually do) without making any RV winterization mistakes.
If you plan to leave your RV home behind in the next few months, this article is for you. Here, we will discuss the most common RV winterization mistakes so you can avoid making them and ensure your rig is in tip-top shape and ready for you when you return from your winter getaway.
Mistake #1: Antifreeze in the Water Heater
It can be very easy to forget to bypass the water heater before pumping RV antifreeze through your system. This is unfortunate, not because the antifreeze will hurt the heater tank, but because it means using 5–6 gallons of RV antifreeze to fill a tank that doesn’t actually need filling, unnecessarily adding to the total costs of RV winterization. Additionally, many people claim they can taste and smell RV antifreeze long after it has been cleared from their water heater tank.
Since nobody wants to wash dishes or cook with water that smells or tastes like RV antifreeze, it’s best to bypass the water heater and winterize it by getting rid of the water in the tank rather than adding antifreeze.

Mistake #2: Antifreeze in the Fresh Tank
Another spot you really don’t need to put RV antifreeze? The fresh water tank. While you definitely do want to open all the drains on your rig to ensure there is no water left in the fresh tank, you absolutely do not need to pour antifreeze into the fresh tank. In fact, this is one of those RV winterization mistakes you’ll want to actively avoid.
As we mentioned before, RV antifreeze can cause water to taste and smell funny for a long time after the water no longer runs pink. If you add it to your fresh tank, you can pretty much count on water that is a little bit off for quite some time.
Mistake #3: Skipping the Toilet or Outdoor Shower
While it is best to skip putting antifreeze in the water heater and fresh water tank, there are some spots you DON’T want to skip and missing them is definitely high on our list of RV winterization mistakes. Two that are commonly missed? The toilet and the outdoor shower.
While you are running the faucets in your rig to make sure they are running pink, don’t forget to also flush the toilet until it runs pink as well. This might require filling the bowl and flushing it down, but is an important step.
You’ll also need to head outside and run water through the outdoor shower until it is running pink. This is easy to miss since you may not use your outdoor shower often and it is located outside, away from the other faucets, but forgetting to winterize the outdoor shower might result in burst water lines or a broken shower head or faucet—both things that can eventually cause water damage to your rig.
Mistake #4: Skipping the Waste Tanks
Winterizing your RV’s water lines by running antifreeze through them is probably the most important part of RV winterization. That said, there are other steps you can take to prevent damage to your rig, and considering how easy they are, you really ought to go ahead and do them.
One such task? Pouring a few cups of RV antifreeze into your gray and black water tanks. This will prevent anything that might be left in the tanks from freezing, and could help ensure your waste tanks don’t crack during hard freezes.
This step might not be included in every guide to RV winterization, but it’s so easy to do and helps so much that skipping it is one of those RV winterization mistakes you don’t want to make.
Mistake #5: Forgetting the Batteries
Your RV’s water system isn’t the only thing that requires winterization. Another important component to keep safe during freezing temperatures? Your RV batteries.
When left connected, RV batteries drain over time due to parasitic draws. Even when they aren’t hooked up to anything, batteries will be drained slowly over time. Unfortunately, a dead battery can freeze. Because most batteries aren’t made to be drained completely and because it’s never good for a battery to freeze, it is important to make sure your RV batteries are kept charged during winter storage.
You can keep your batteries charged by leaving the RV plugged in. If this isn’t an option, simply unhooking the batteries should work well enough for short stints (as in a week or less). If you’ll be gone longer and cannot leave the RV plugged in, try to find a way to store your batteries inside, preferably hooked up to a trickle charger.
Mistake #6: Leaving Liquids Behind
Generally speaking, it’s a good idea to clear out your pantry before you leave your RV in storage. One reason for this? Anything liquid can freeze and burst out of its container, leaving you with a giant mess to clean when you return and even the potential for water damage.
Obviously, this is one of those RV winterization mistakes that should be avoided. Fortunately, this is easy enough to do. Just make sure you clear your cabinets and fridge of beverages, canned goods, liquid cleaning products, etc and you should be good to go.

Mistake #7: Attracting Pests
Another good reason to clean out the pantry before putting your RV in storage? Pests. Nobody wants their RV to be taken over by mice, ants, and other little critters while they’re away. Unfortunately, leaving food where they can get it is just inviting such pests to make themselves at home, and if you’re not there to stop the problem in its tracks, you really can’t do much about it after the fact.
The best way to prevent this problem in the first place? Well, obviously you will want to get rid of all the food that you can. Put anything you absolutely have to keep into locking plastic containers to trap in the smell and thus keep mice from eating through packaging. We also recommend putting out mouse deterrent in order to ensure you come back to a pest-free home.
Mistake #8: Leaving Leaks
If you’ve been in your RV for any amount of time at all, you know that leaks are an RV’s worst nightmare. Water is sneaky and can squeeze in through the tiniest holes and cracks, and when it does, it can cause tons of costly damage to your home-on-wheels. This means leaving any leaks at all could be one of the worst RV winterization mistakes possible.
Obviously, you definitely don’t want leaks to happen while you’re gone and therefore can’t do so much as mop up the water or seal the leaking area. For this reason, we highly recommend going over your RV seals with Dicor before you put the rig away. It doesn’t hurt to go a step further and invest in an RV cover or even find a place that offers covered storage, so you can be sure no water is going to sneak its way into your trailer or motorhome.
As you can see, there are several common RV winterization mistakes that are actually super easy to make. In order to ensure you don’t make any of these mistakes, refer to the list above as you’re going through the winterization process. Once you’re sure your RV winterization is done properly, you can rest easy knowing your tiny home will be in good shape when you return.
Join Fulltime Families
Fulltime Families Members get access to the best resources, community and discounts.
Fulltime Families is a participant in the Amazon Services LLC Associates Program, an affiliate advertising program designed to provide a means for sites to earn advertising fees by advertising and linking to amazon.com, amazon.co.uk, amazon.ca. Amazon and the Amazon logo are trademarks of Amazon.com, Inc. or its affiliates.