
This article may contain compensated links, please read our disclaimer for more information.
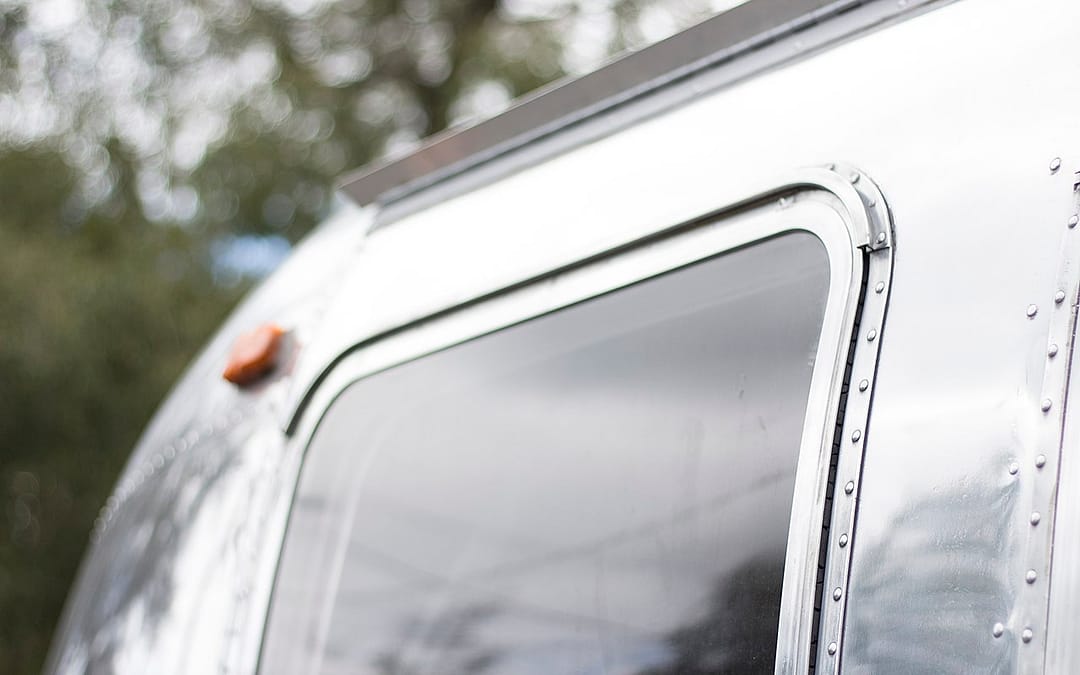
When given the chance, water loves to make its way into your rig where it isn’t supposed to be. It happens to all RVers at one point or another. Many times, it makes its way into your home-on-wheels via a leaking RV window, something that can only be fixed by sealing camper windows.
If you’re dealing with a leaking RV window, you’ve come to the right place. In this article we will be discussing everything you need to know to seal RV windows.
The Best Sealant for RV Windows
First, let’s talk a bit about what you’ll need to seal RV windows. Gather these materials before you begin resealing RV windows in order to make the job go as quickly and smoothly as possible:
- Putty knife
- Cleaning alcohol
- Cleaning cloth
- Butyl tape
- RV-specific sealant
- Caulk gun
When it comes to choosing a sealant for sealing camper windows, stick to RV-specific options such as Dicor or Geocel ProFlex RV. You want a non-sag sealant (not a self-leveling one) and remember that you should never use silicone sealant on your RV, as it will inevitably be a nightmare to deal with down the line.

Sealing Camper Windows
Now that you have the materials you need for sealing camper windows, the next step is to jump into the job. Below is a step-by-step guide for resealing RV windows to help you out.
Check the Weather
Make sure you check the weather forecast before jumping into the task fo sealing camper windows! You want a dry day (or better yet, two days in a row) because the sealant needs time to cure. Warmer weather also tends to be better for sealing jobs, while cold weather might make working with butyl tape pretty difficult or even impossible.
Remove Screws
Find the screws around your RV window frame and remove them. Depending on how old your RV is, these could be inside or outside. The window may or may not be secure once the screws are removed, so we recommend having someone help you hold the window in place and catch it if it does fall.
Push and Pry the Window
If the window doesn’t come out on its own, you will probably have to push on it or even gently pry it away from the wall. The original sealant might make this a bit difficult. Using the putty knife from the list above to separate the window frame from the sealant can be helpful.
Remove Old Sealant
Perhaps the most time-consuming part of sealing camper windows is removing the old sealant from the exterior wall and window frame. You will need your putty knife and plenty of patience as you carefully remove all the little bits of butyl tape and sealant from everything.
Clean Everything
Once the old sealant is gone, you will want to clean everything well. This is where the cleaning alcohol comes into play. Use a soft cloth to rub the alcohol all along the window frame and the exterior wall around the window cutout in order to ensure no dirt or debris is left behind.
Apply Butyl Tape
The next step is to apply a new layer of butyl tape on the RV exterior wall around the window cutout. Start at the bottom of the cutout where the window weep holes are and work your way around the entire hole. Try to place the butyl tape about ⅛ of an inch away from the window cutout and overlap by about half an inch at the bottom.
Once the tape is applied, visually inspect your work for gaps that could let air or water into the RV.
Replace Window
Now it’s time to replace the window. Again, we recommend having a helper to assist you with getting the window back into its cutout in the wall. Make sure the window is turned right side up and have your helper hold it in place while you replace all of the screws. The butyl tape should squish and spread while you do this in order to create a watertight seal.
Add a Bead of Sealant
Finally, you will want to use your caulk gun to add a bead of RV-specific sealant such as Dicor or Geocel ProFlex RV along the top of the window. Make this bead extend a few inches down each side for extra measure.
By following these instructions, you should be able to reseal any leaking RV window. That said, if you need a visual, the video below should help you get a better understanding of the process of sealing camper windows.
Temporary Fix for Leaking Window
Sealing camper windows can be time consuming. Let’s say your window starts leaking when you can’t really take the time to remove it and reseal it properly. Don’t worry, there is a quick and easy temporary solution that should stop the leak until you can fix the problem the right way.
All you have to do is use one of the aforementioned RV-specific sealants to cover the gap that is letting water in. Be sure to choose a time when the sealant has enough time to cure before it gets wet, and be liberal with your application in order to ensure the leak is completely taken care of.
How Often Should I Be Resealing RV Windows?
Once you deal with a leaking RV window once, it’s not something you really want to do again. The best way to avoid this problem in the future? Keep up with resealing your RV on a regular basis in order to ensure all seals are in tip-top shape at all times.
Wondering how often you need to be sealing camper windows? We recommend checking the seals every six months and resealing once a year in order to avoid leaks.
Hopefully these instructions helped you better understand how to seal RV windows. Now it’s time to get to work so you don’t have to worry the next time a rainstorm rolls in.
Join Fulltime Families
Fulltime Families Members get access to the best resources, community and discounts.
Fulltime Families is a participant in the Amazon Services LLC Associates Program, an affiliate advertising program designed to provide a means for sites to earn advertising fees by advertising and linking to amazon.com, amazon.co.uk, amazon.ca. Amazon and the Amazon logo are trademarks of Amazon.com, Inc. or its affiliates.